How to Store Camping Gear in Plastic Totes for Winter
When the last fall trip is over, most camping gear gets tossed into a corner of the garage and forgotten until spring. Then you open the pile and find a mildewed tent, a dead lantern with corroded batteries, and a stove you cannot find the fuel canister for. Learning how to store camping gear in plastic totes fixes all of that. A few labeled, stackable bins keep your equipment dry, sorted by job, and ready to load into the car the moment the weather turns warm again.
This guide walks through cleaning and drying everything first, deciding what belongs in a tote and what does not, packing bins by activity, and choosing a storage spot that protects your gear through the cold months.
Why Plastic Totes Work for Camping Gear Storage
Camping equipment is a mix of awkward shapes: stakes, poles, cook pots, lanterns, fuel, first aid kits and dozens of small items that disappear in a cardboard box. Cardboard also soaks up moisture from a concrete floor and invites pests. A rigid plastic tote with a lid that locks down gives you a few clear advantages:
- Dust and moisture protection. A lid that locks into place keeps out the dust and splashes that settle on everything in a garage or basement.
- Stackability. Uniform bins stack into a neat column instead of a sliding pile, which saves floor space.
- Grab-and-go packing. When each tote holds one category, you can load the car by carrying out three or four bins instead of hunting for individual items.
- Easy cleaning. Plastic wipes clean if a fuel bottle drips or a muddy item slips in.
Step 1: Clean and Dry Everything Before It Goes in a Tote
The most important rule of camping gear storage is simple: nothing goes into a closed bin damp or dirty. Trapped moisture is what causes mildew, rust and odors over a long winter.
- Set up the tent and let it air out. Pitch it in the yard or hang it over a line on a dry day. Shake out dirt, sweep the floor and let the fly and body dry completely, including the seams.
- Wash the cook kit. Scrub pots, pans, utensils and cups, then let them dry fully. Food residue attracts mice.
- Remove batteries. Take batteries out of headlamps, lanterns and flashlights so they cannot leak and corrode the contacts over the winter.
- Empty water containers and hydration bladders. Rinse them, prop them open and let them dry so nothing grows inside.
- Wipe down tools and stakes. Knock off soil and wipe metal items dry to slow rust.
Step 2: Decide What Belongs in a Tote and What Does Not
Not every piece of gear should be sealed in a hard bin. Sleeping bags and puffy jackets keep their loft best when stored loose in a large breathable sack or hung in a closet, not compressed. Many campers also store tents loosely in a breathable bag so the fabric is not crushed in the same folds all winter. Hard gear, on the other hand, is a perfect fit for plastic totes.
Good candidates for tote storage include:
- Camp stoves, cook pots, utensils and a clean dish kit
- Lanterns, headlamps and spare batteries (stored separately)
- Tent stakes, mallets, guy lines and repair kits
- Tarps, ground cloths and camp rope
- First aid kits, fire starters and multi-tools
Keep fuel canisters and propane cylinders out of the house. Store them according to the manufacturer's instructions, usually in a cool, ventilated spot away from heat sources and living areas.
Step 3: Pack Camping Totes by Activity
The fastest way to make next season easy is to organize bins by job rather than by size. A simple system:
Tote 1: Camp Kitchen
Stove, pots, pans, utensils, cutting board, collapsible sink, dish soap, sponges, can opener, lighter and a short checklist taped to the inside of the lid. Pack heavy items on the bottom and fragile items on top.
Tote 2: Shelter and Tools
Stakes, mallet, tarps, ground cloth, rope, seam sealer, repair patches and a small hatchet or saw. Bundle stakes with a rubber band or put them in a pouch so they do not puncture anything.
Tote 3: Lights and Safety
Lanterns, headlamps, batteries in a separate bag, first aid kit, fire starters, sunscreen and bug spray. Check expiration dates before you pack them away.
Tote 4: Overflow and Extras
Games, camp table covers, clothesline, extra bungee cords and anything else you want on most trips.
Choosing the Right Storage Totes for Camping Gear
Look for bins that suit hard, bulky equipment and that will handle a garage environment. Here is what to check:
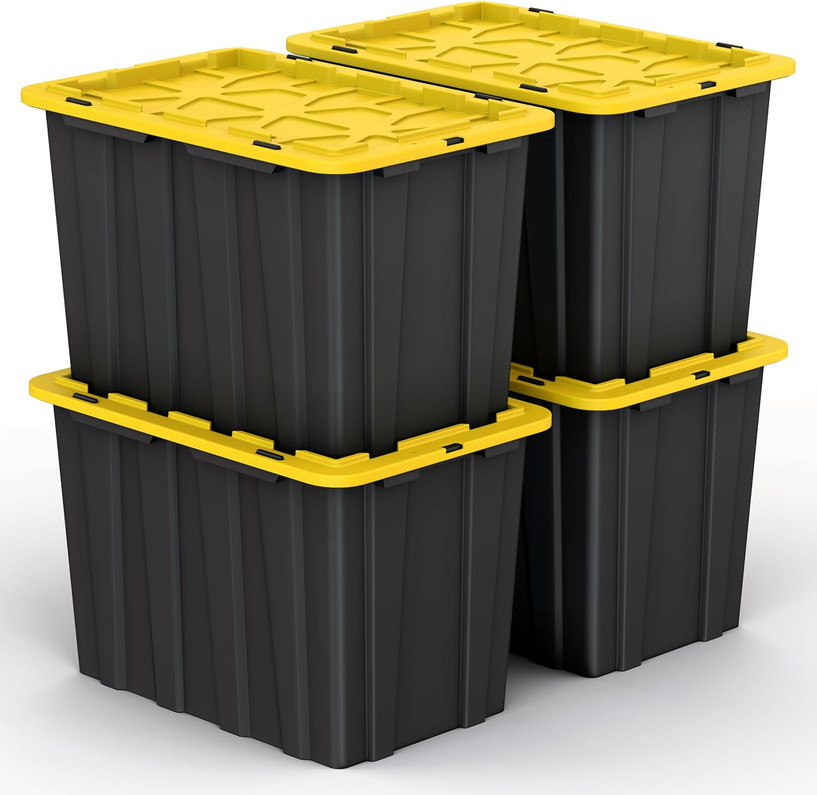
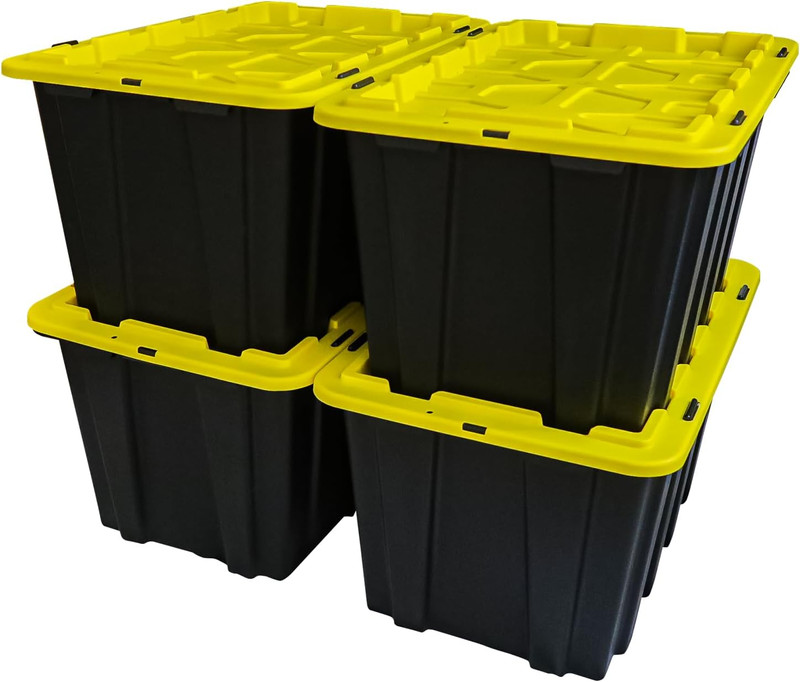
- A lid that locks. The 23 Gallon Industrial Tote 4 Pack has a latching lid that locks into place to help keep dust and liquids out, and its product page notes it stacks up to 4 levels high or nests inside each other when empty.
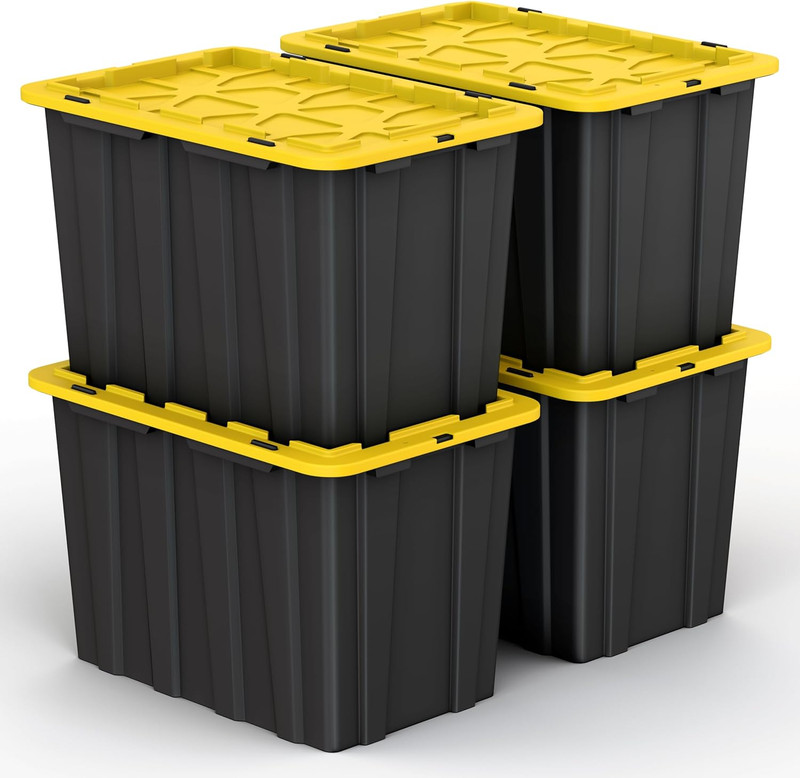
- Garage-ready build. The 17 Gallon Snap Lid Storage Bin Set of 4 measures 24.5 x 16.5 x 13.5 inches per bin, has a snap lid that locks into place, built-in side grooves for handles and stacks up to 4 high. Its listing says it is designed for garage or workshop storage rather than fabric or consumable products, which makes it a good match for stoves, tools, stakes and lanterns.
- Handles you can grip with gloves on. Side grooves make it easier to slide a bin off a shelf or carry it to the car.
- Matching sizes. Buying a set means every bin stacks the same way, which keeps a column stable.
New plastic bins can have a slight odor at first. The product pages recommend airing them out before use, so open the lids for a day before you pack.
Step 4: Label, Stack and Store
- Label two sides. Write the tote name on the end and the long side so you can read it no matter how it sits on a shelf.
- Tape a contents list inside the lid. Update it when you pack and you will know instantly if something is missing.
- Stack heaviest bins on the bottom. Put the camp kitchen tote low and lighter bins on top. Do not exceed the stacking height on the product page.
- Keep bins off bare concrete. A shelf or pallet lets air move underneath and keeps bins clear of puddles.
- Choose a spot away from heat. Avoid placing totes against a furnace, water heater or in direct sun through a window.
Safety note: Lift loaded totes with your legs, not your back, and avoid stacking heavy bins above shoulder height where they could tip when you pull one out.
Frequently Asked Questions
Can I store a tent in a plastic tote?
You can, as long as it is completely dry first. Many campers prefer to keep tents in a breathable bag instead so trapped moisture cannot cause mildew. If you do use a tote, check it partway through winter and air the tent out if you notice any dampness.
Where is the best place to keep camping totes over winter?
A dry garage shelf, basement shelf or closet works well. The key is to keep bins off a wet floor and away from heat sources. Store fuel separately in a ventilated area according to its label.
How many totes do I need for camping gear?
Most families do well with three or four: kitchen, shelter and tools, lights and safety, and extras. Start with a set of matching bins so they stack evenly, then add more as your gear grows.
Should I add moisture absorbers to my storage bins?
A desiccant pack in each tote is a cheap extra layer of protection in humid basements, especially for metal tools and cookware. Replace or recharge it each season.
Get Your Camping Gear Ready for Spring
One afternoon of cleaning and packing means your next trip starts with grabbing a few totes. Shop the 23 Gallon Industrial Totes and the 17 Gallon Snap Lid Bins, or browse more options in our Home Storage Bins collection.
Recent Posts
-
How to Organize Toys With Clear Storage Bins
Toy clutter tends to peak right before the holidays, when birthday gifts from the year are still sca …Oct 23, 2026 -
Folding Chairs for Church Halls and Community Centers
Church halls, fellowship rooms and community centers ask more of their seating than almost any home. …Oct 23, 2026 -
Restaurant Bus Cart Guide: Using a Utility Cart for Bussing
Every busy dining room hits the same wall at some point in a shift: dirty plates stack up, servers m …Oct 23, 2026