Pantry Storage Container Guide for Better Buying
A bag of flour that will not stand upright, cereal boxes that leave half-empty gaps, and spices hidden behind larger packages can make a pantry feel smaller than it is. This pantry storage container guide focuses on the choices that actually affect daily use: container size, lid style, material, shelf fit, and how much food you realistically keep on hand.
The goal is not to put every item in a matching container. It is to make staples easier to see, scoop, store, and restock while using available shelf space more efficiently. A few well-chosen containers can make a noticeable difference in a kitchen pantry, break room, rental unit, or small business supply area.
Start With Your Pantry, Not the Container Set
Measure the usable space before buying anything. Check shelf width, depth, and clearance between shelves, especially if shelves are adjustable but currently set too close together. A tall container may look efficient online but become inconvenient if its lid cannot be removed without pulling it completely off the shelf.
Also look at what you buy most often. Households that buy family-size cereal, rice, flour, pasta, snacks, and baking ingredients need different storage than a household that shops more frequently and keeps smaller quantities. Buying a large set before identifying those habits often creates unused containers and still leaves the awkward packages out in the open.
For most pantries, it helps to group items by how they are used. Baking staples belong together, everyday breakfast items should be easy to reach, and backstock can go on higher or lower shelves. Containers work best when they support that layout instead of forcing a new one.
Choose Container Sizes That Match Real Packages
Capacity labels can be useful, but dimensions matter just as much. A container can hold the stated amount of dry food and still waste valuable shelf height or leave no room for a scoop. Compare the length, width, and height of each container with your shelf measurements before ordering.
For flour, sugar, rice, oats, and pet food, select a container large enough to hold a typical package with some headroom. That extra room prevents spills during refills and gives you space to use a measuring cup. If you regularly buy bulk bags, consider keeping the unopened reserve package elsewhere and refilling a manageable countertop or pantry container as needed.
Tall, narrow containers can be a smart choice for deep shelves because they maximize vertical space and are easier to line up in rows. Wide containers are often better for pasta, snacks, baking supplies, or individually wrapped items. Shallow bins and containers can help on narrow shelves, but they should not be so deep that items disappear at the back.
There is also a trade-off between large capacity and easy handling. A very large container may reduce refills, but it can be heavy to lift and difficult to pour from. For renters, older pantry shelving, or compact cabinets, several medium containers may be more practical than one oversized option.
A simple size check before you buy
Take note of the packages you want to decant, then measure the shelf clearance. Leave enough space for your hand and for opening the lid. If you plan to stack containers, make sure the lid design is intended to support the weight above it rather than assuming every flat-looking lid is stackable.
Pick the Right Material for the Job
Most pantry storage containers are made from clear plastic, glass, or opaque plastic. Each material has a place, and the best option depends on where it will be used and who will handle it.
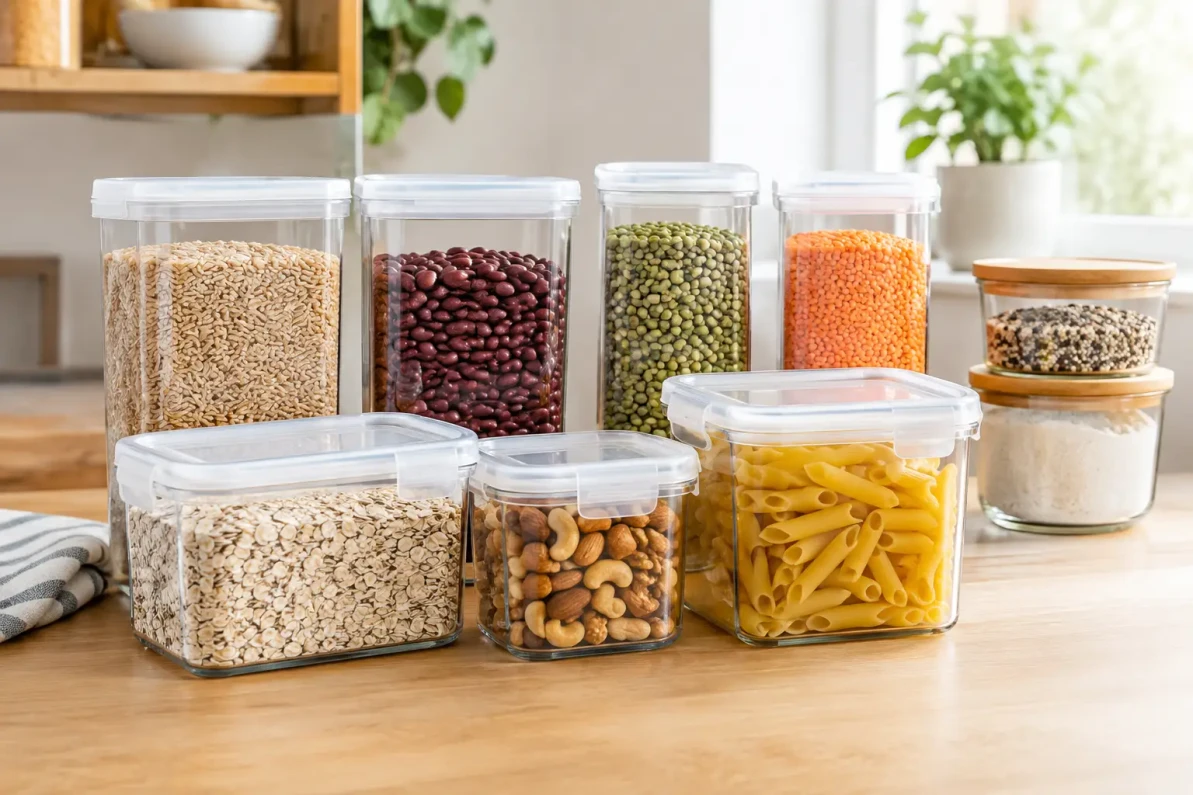
Clear plastic is popular because it makes inventory visible at a glance. This is especially helpful for cereal, pasta, beans, snacks, and baking staples. Lightweight plastic containers are also easier to move when shelves are high or when children help with snacks. Look for containers with a sturdy base and a lid that feels secure without requiring excessive force to open.
Glass provides a clean appearance and does not retain food odors as easily as some plastic materials. It can be a good choice for spices, tea, coffee, or smaller quantities of dry goods. The drawback is weight and breakage risk, particularly on high shelves or in busy households. Glass may be less practical for large bulk items that need frequent lifting.
Opaque containers can reduce visual clutter and may work well for backstock or supplies that do not need to be identified instantly. However, they require clear labels. Without them, it is easy to confuse similar-looking ingredients or forget what needs to be replaced.
Lids Matter More Than Most Shoppers Expect
A container is only as useful as its lid. For dry pantry goods, a close-fitting lid helps keep contents contained, prevents accidental spills, and protects food from everyday pantry dust and moisture exposure. The right lid should also match the item you store.
Flip-top or pour spouts are convenient for cereal, nuts, and snacks that are used often. Wide removable lids are better for flour, sugar, rice, and other foods that need measuring cups or scoops. For ingredients used only occasionally, a lid with a simple, reliable seal may be more valuable than a complicated opening mechanism.
Test the routine in your mind before choosing. Can you open the lid one-handed while making breakfast? Will the container be easy to close for someone with limited grip strength? Does the lid have small parts that will be hard to clean after a spill? A simple lid that gets used correctly is generally better than a feature-heavy design that becomes frustrating.
Build a Practical Pantry Storage Container System
A coordinated set can make shelves look organized, but a useful system does not require every container to be identical. The better approach is to use a small number of shapes that fit your shelves and repeat them where it makes sense.
Square and rectangular containers usually use shelf space more efficiently than round containers because they sit close together. Reserve round containers for items where the shape serves a purpose, such as a jar for a scoopable ingredient or a container that fits a specific cabinet corner.
For a standard pantry, consider creating three working zones. Use larger containers for core staples, medium containers for frequently used dry goods, and small containers or bins for packets, spices, snacks, and baking decorations. This approach gives you order without turning every pantry item into a transfer project.
If you manage a shared office kitchen, rental property, or small business break room, choose containers that are straightforward for multiple people to use. Clear sides, easy lids, and direct labels reduce confusion. Keeping backup supplies separate from the everyday containers also makes restocking faster.
When not to decant food
Some packages are already practical to store as they are. Individually wrapped snacks, sealed mixes, and products with cooking directions printed on the box may be easier to keep in their original packaging. You can still organize these items in open bins or shelf organizers without adding a container and a label for every product.
Label for Restocking, Not Just Appearance
Labels should help the next person use and replace an item correctly. At a minimum, label the contents. For similar products, such as all-purpose flour and bread flour, clear naming prevents mistakes.
For bulk ingredients, it can also help to note the best-by date from the original package. This is particularly useful when you refill a container before it is empty. A small removable label or erasable label can make this easier to update.
Keep labels facing forward and place them consistently, either on the front of the container or on the lid. Labels on lids work well for drawer storage or low shelves viewed from above. Front labels are easier to read on eye-level pantry shelves.
Clean and Maintain Containers Between Refills
Do not simply pour new food over old food indefinitely. Empty the container fully from time to time, wipe away crumbs, and wash and dry it according to the manufacturer's care instructions before refilling. Moisture left inside a container can create clumps in dry goods, so allow every part, including the lid seal, to dry completely.
Use a first-in, first-out habit: finish older food before opening a newer package. Keeping only a reasonable amount on hand makes that easier and prevents a neatly organized pantry from becoming a place where forgotten food accumulates.
A good pantry setup should save time, not create another chore. Start with the shelves and staples that frustrate you most, choose containers that fit those exact needs, and add more only when they solve a clear storage problem.
Recent Posts
-
Frigidaire Fridge Door Shelf Rail Broken: Replace 240534901
If the door shelf rail on your Frigidaire refrigerator has cracked, snapped off or keeps popping loo …Nov 21, 2026 -
Storage Totes for Contractors: Truck and Jobsite Guide
Every contractor knows the cost of a disorganized truck. You drive to the job, then spend twenty min …Nov 21, 2026 -
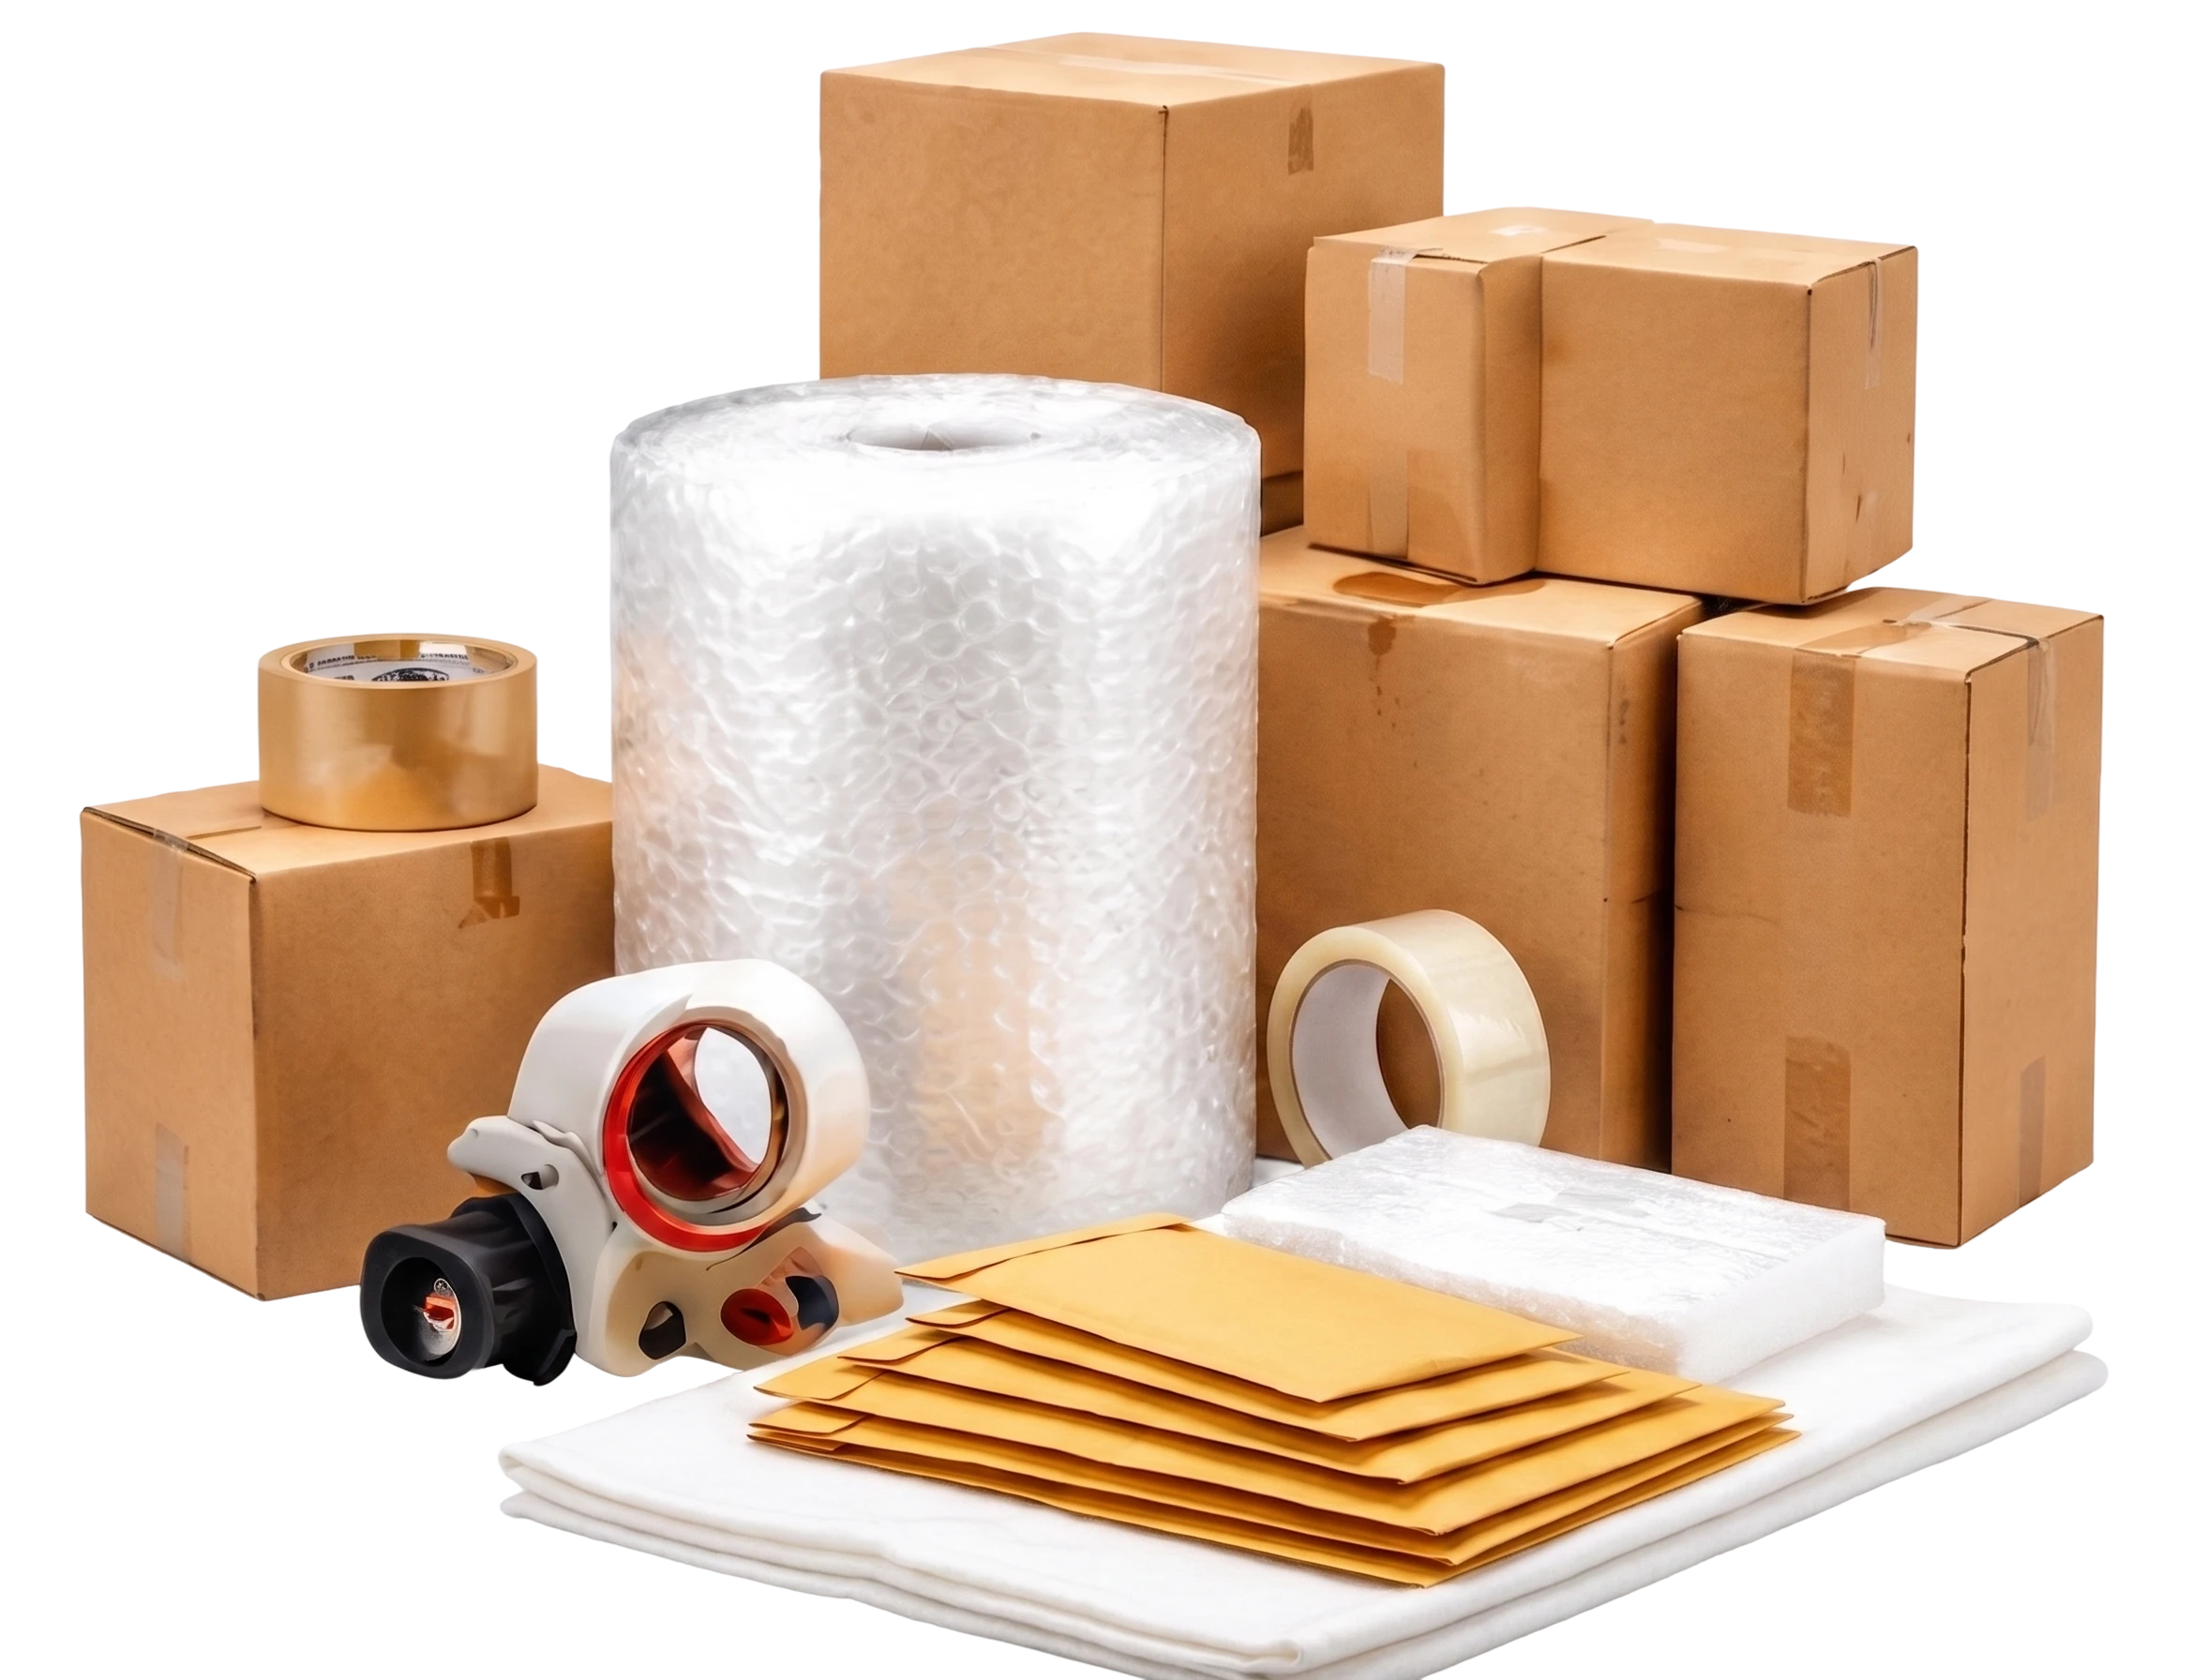
How to Pack a Heavy Box for Shipping Without Blowouts
A heavy box fails in predictable ways. The bottom seam splits when someone lifts it, a corner crushe …Nov 21, 2026