How to Pack Fragile Items Without Breakage
A cracked mug or shattered frame usually starts with one of two problems: empty space inside the box or a carton that was too weak for the load. Knowing how to pack fragile items is less about using the most packing material and more about controlling movement from every direction.
Whether you are packing a kitchen for a move, sending customer orders, or storing breakable items between projects, the goal is the same: cushion each piece, keep items from touching, and use a box that can handle the weight. A careful packing method also saves time on replacements, returns, and cleanup.
Start With the Right Box and Cushioning Materials
Choose a clean, dry corrugated box with firm corners and no crushed sections. Reused boxes can work for lightweight household items if they are still sturdy, but a new box is the better choice for glass, ceramics, electronics, or items that will go through a shipping carrier's network. If the box flexes easily when you press its sides, use a stronger one.
Size matters. A box that is much too large requires extra void fill and lets the contents build momentum when it is moved. A box that is too small can force items against the walls. For most fragile items, leave room for cushioning at the bottom, top, and all four sides.
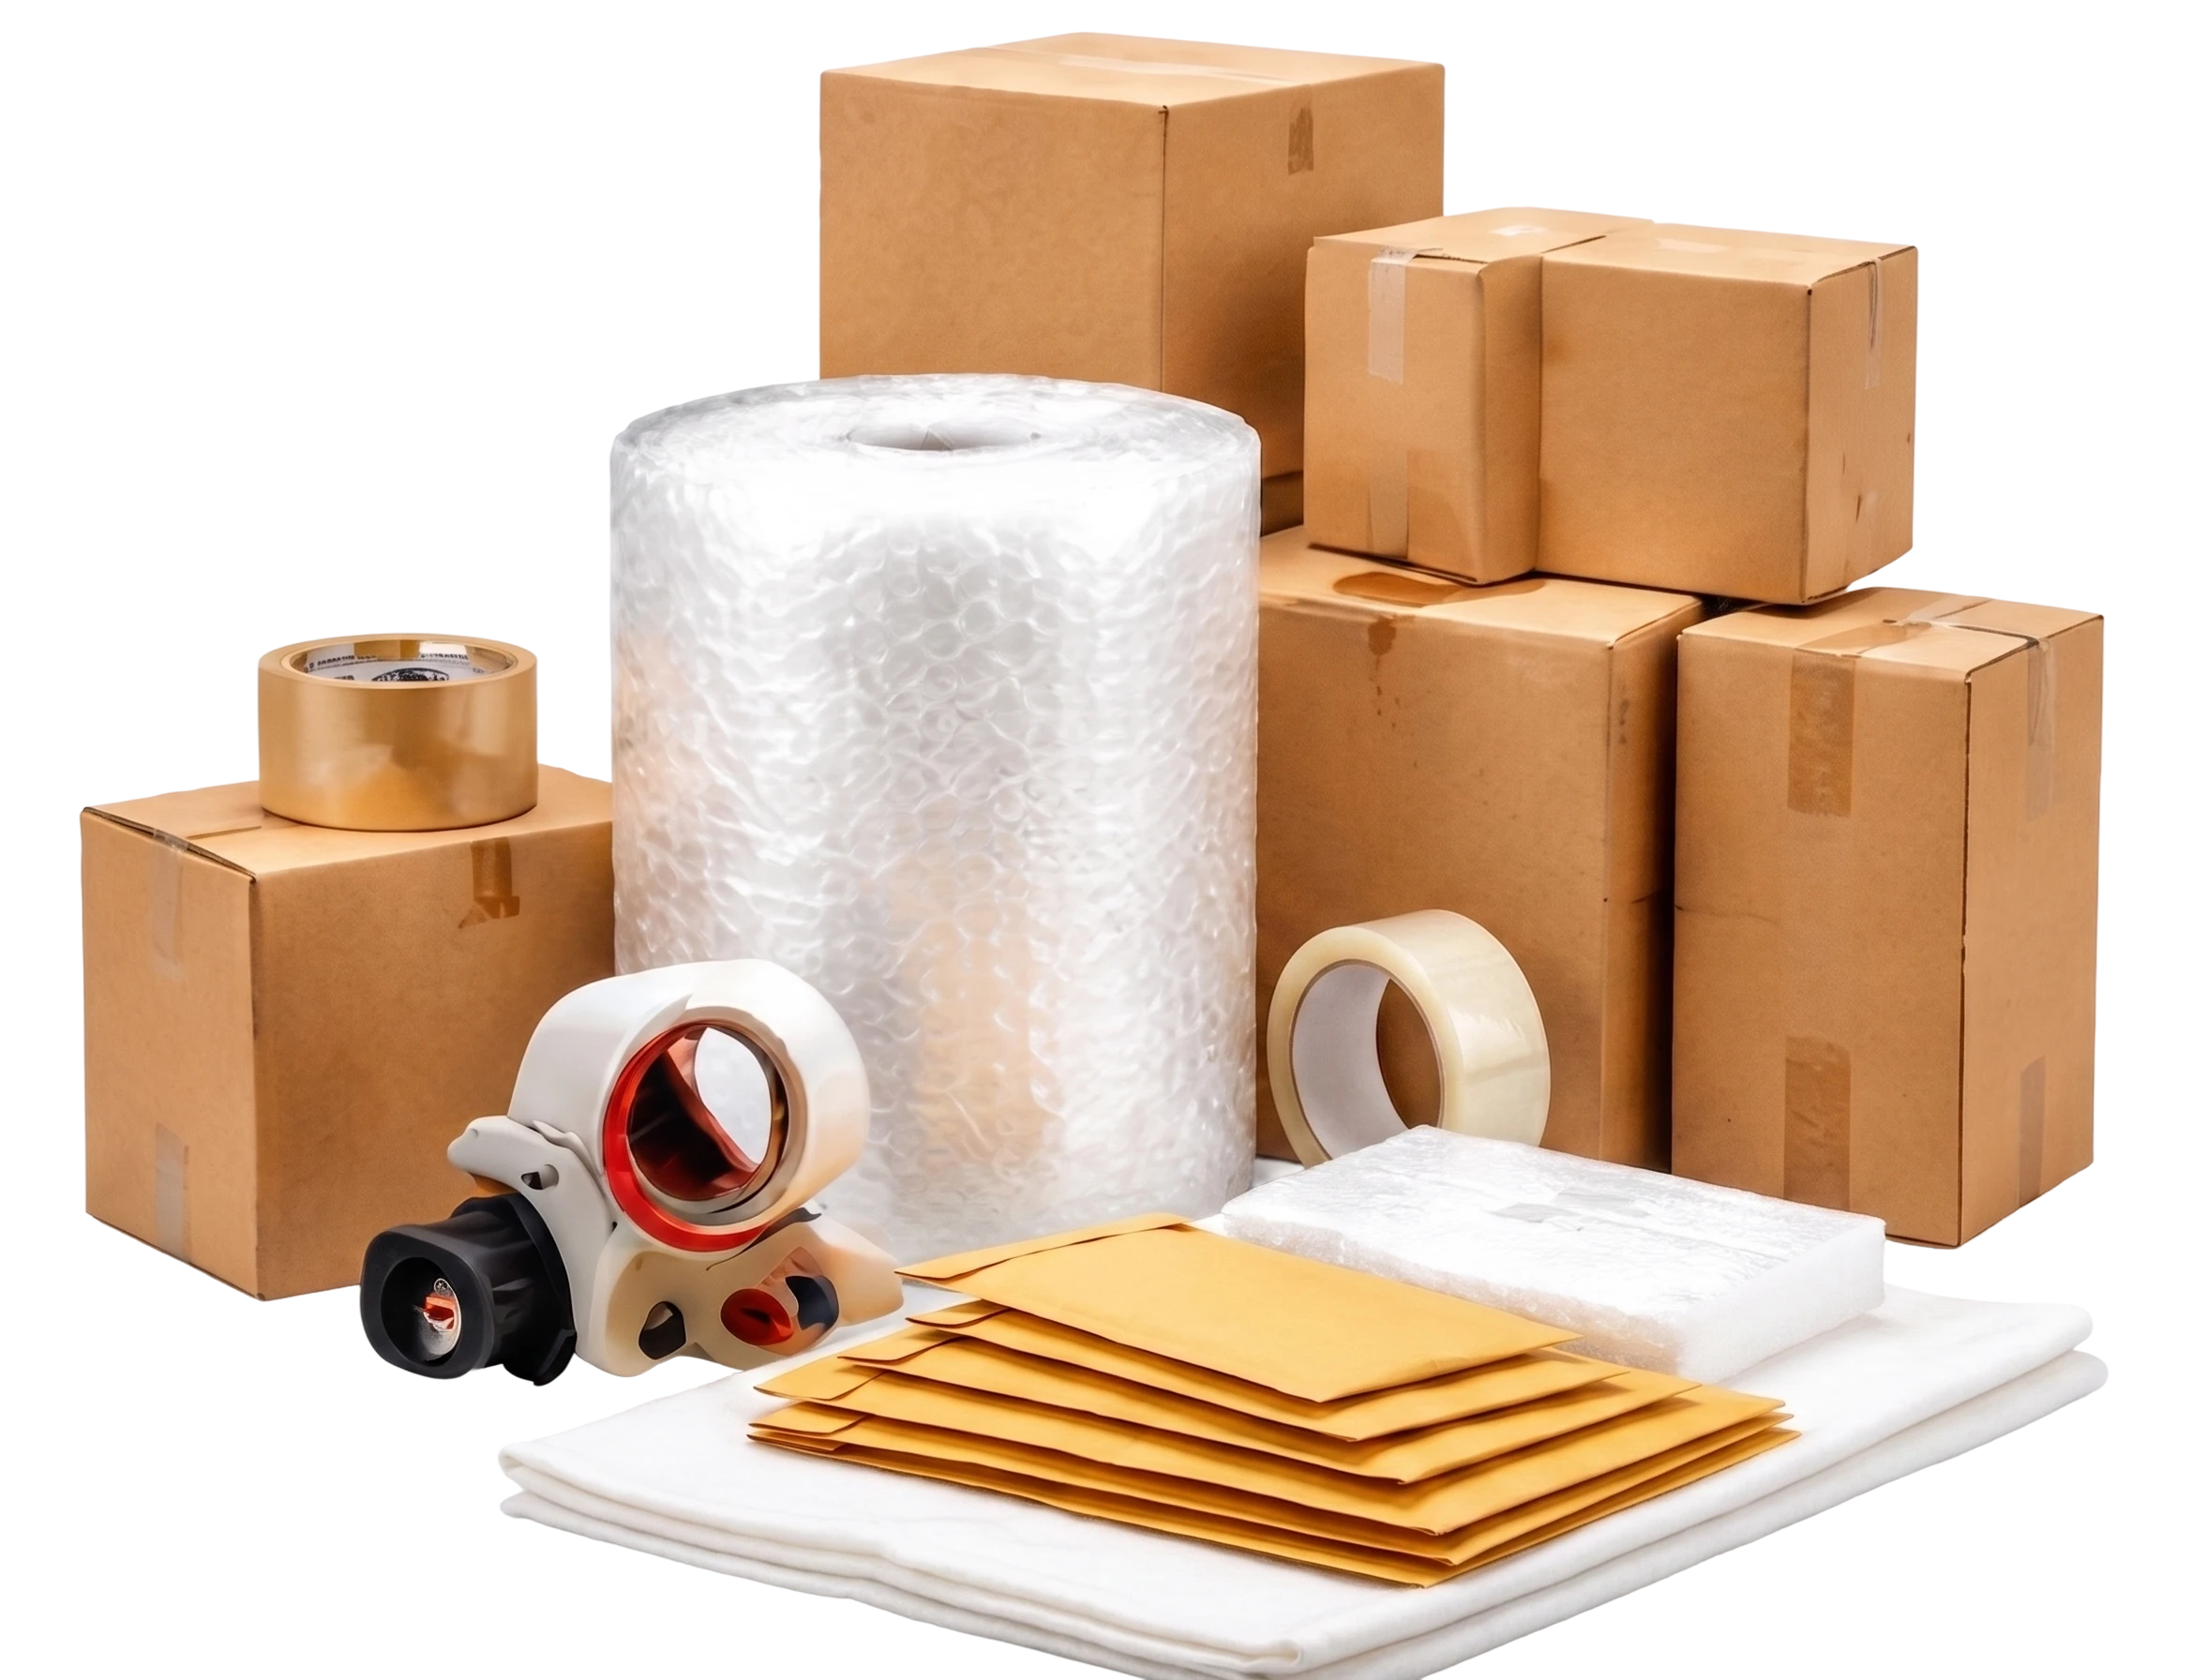
Keep your supplies within reach before you begin. You will typically need packing paper, bubble cushioning, sturdy packing tape, a marker or fragile label, and void fill such as crumpled paper. For heavier breakables, consider double-wall cartons and cardboard dividers. Do not rely on newspaper alone for high-value items. Its ink can transfer, and thin sheets compress quickly.
How to Pack Fragile Items Step by Step
Begin by preparing the box, not the item. Tape the bottom seam with several strips of packing tape, running at least one strip across the center seam and additional strips across the width. Add a two- to three-inch cushioning layer of crumpled paper or similar material on the bottom. This layer protects against the hard surface beneath the item.
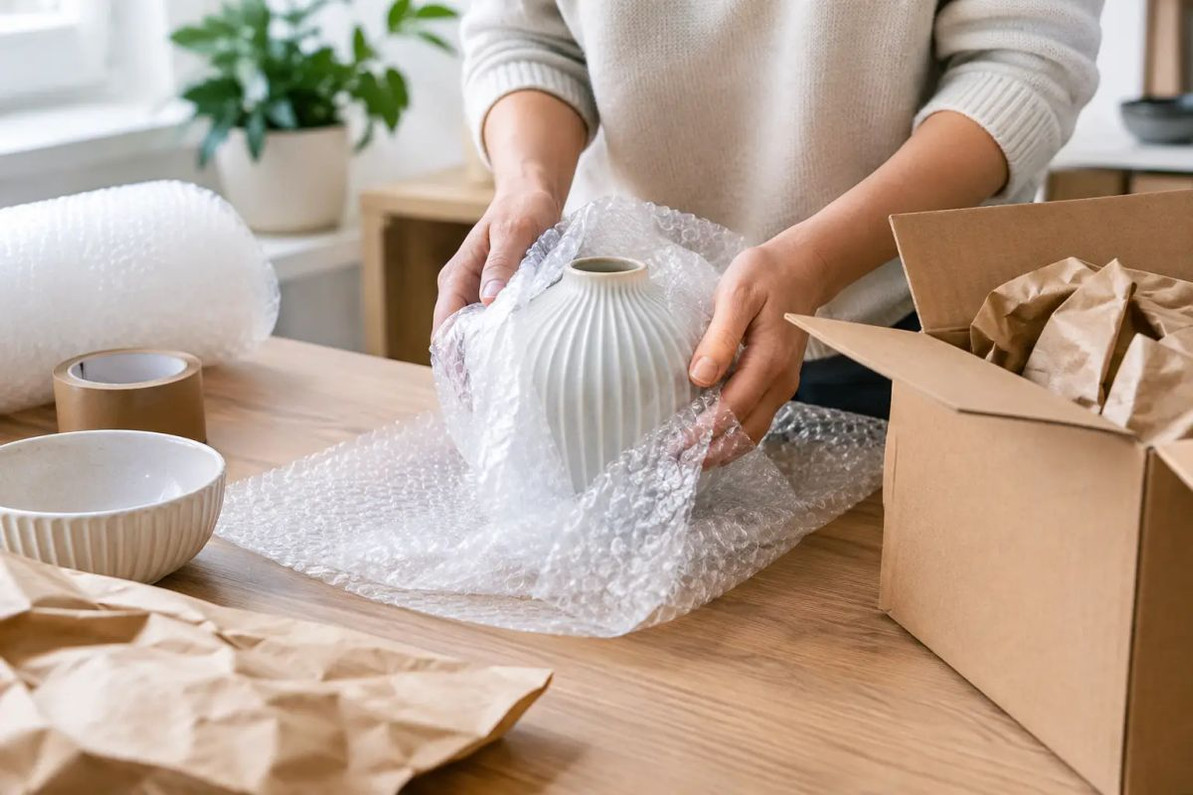
Wrap each item separately. Place glassware, mugs, and small decorative pieces on packing paper, fold the paper around them, and secure the wrap with tape if needed. For delicate edges, handles, knobs, and corners, add extra paper or bubble cushioning before wrapping the full item. Bubble cushioning should face inward when it directly contacts a smooth, breakable surface, so the bubbles absorb pressure.
Set wrapped items in the box one at a time. Keep heavier pieces at the bottom and lighter pieces above them, but do not stack a heavy item directly on a delicate one without a firm divider. Build layers with a flat cardboard sheet, a thick layer of paper, or a purpose-made divider between them.
Fill every open space. The correct test is simple: close the box loosely, lift it, and gently shift it. Nothing inside should slide, rattle, or knock together. If it does, add more fill around the sides and between items. Packing material should hold the contents in place without being packed so tightly that it presses hard against thin glass or delicate finishes.
Before sealing, add a final cushioning layer at the top. The box should close naturally. If you have to force the flaps down, move the contents to a larger carton rather than crushing the top layer. Seal the center seam and both edge seams with strong tape. For shipping, tape in an H pattern across the top and bottom of the carton for better support.
Match the Method to What You Are Packing
Plates and bowls need a different approach from drinking glasses. Stack plates vertically, like records, rather than flat in a tall pile. Wrap each plate individually, then place several wrapped plates into a smaller bundle with cardboard between groups. Vertical packing reduces the pressure that can crack a plate at the bottom of a stack.
Wrap glasses individually and protect the rim and base with extra paper. Nesting glasses inside one another can save space, but it is only a good idea when each glass is fully separated and the shapes fit without pressure. For everyday glassware, cardboard cell dividers are often the simplest option because they prevent side-to-side contact.
For picture frames and mirrors, protect the corners first. Cut cardboard corner guards or use folded cardboard pieces, then wrap the front and back with flat cardboard panels before adding bubble cushioning. Pack frames upright in a snug box, not flat beneath heavy objects. Large mirrors, framed artwork, and unusually valuable pieces may need a specialized carton or professional packing service.
Small appliances and electronic equipment should travel in their original packaging when available. If it is not, remove loose accessories, protect screens and controls, and use a box that leaves room for cushioning on every side. Never pack cords, chargers, or loose metal parts where they can rub against a screen, finish, or glass panel.
Moving Versus Shipping: Plan for Different Handling
A box loaded into your own vehicle has a more predictable trip than one sent through a carrier. For a local move, well-wrapped household items can often be packed in larger moving boxes as long as the weight remains manageable. Keep fragile cartons on top of heavier boxes and secure them so they cannot tip over.
Shipping calls for more protection. A package may be sorted, stacked, turned, and exposed to repeated handling. Use a smaller inner box for the item, then place that box inside a larger outer box with cushioning between the two. This double-box method is especially useful for ceramics, collectibles, glass containers, and compact appliances.
A "Fragile" label can encourage careful handling, but it is not a substitute for proper packing. Pack every shipment as though it may be set down firmly or stacked under other boxes. Clear address labels should be placed on a flat surface, away from seams and tape wrinkles, so they remain readable.
Avoid These Common Packing Mistakes
The most frequent mistake is wrapping several items together to save time. Even if the bundle feels padded, items can strike each other when the carton shifts. Separate wrapping is slower at the start but far less costly than replacing damaged goods.
Another issue is using a carton that is too heavy to lift safely. Dense materials such as books, dishes, and tools can overload a large box quickly. Use smaller boxes for heavy fragile items and larger boxes for lightweight, bulky pieces such as lampshades or pillows used as supplemental cushioning.
Avoid leaving the top of a box half empty. During transport, the top flaps can cave in and the contents can move upward and sideways. Add enough fill so the lid rests against a soft, supportive layer. Also avoid using clothing as the only protection for delicate items. Clothing can help fill space, but it does not provide consistent protection around sharp edges or thin glass.
Choose Supplies Based on the Item's Value and Risk
For inexpensive everyday dishes going into storage, packing paper and a sound box may be enough. For customer shipments, fragile replacement parts, or items that are difficult to replace, use stronger cartons, dividers, and double-boxing. The material cost is usually modest compared with the time spent handling a damage claim or sending a replacement.
Consider the item’s shape as well as its value. A sturdy ceramic bowl may need less cushioning than a thin stemmed glass, while a small item with protruding parts may require more protection than a larger, solid object. When in doubt, add protection around corners, edges, and any point where two items could make contact.
Good packing is a practical habit: use the right box, remove empty space, and make sure each breakable piece is protected before the carton is sealed. A quick shake test before the box leaves your home, stockroom, or work area can prevent the kind of damage no label can fix.
Recent Posts
-
How to Organize Toys With Clear Storage Bins
Toy clutter tends to peak right before the holidays, when birthday gifts from the year are still sca …Oct 23, 2026 -
Folding Chairs for Church Halls and Community Centers
Church halls, fellowship rooms and community centers ask more of their seating than almost any home. …Oct 23, 2026 -
Restaurant Bus Cart Guide: Using a Utility Cart for Bussing
Every busy dining room hits the same wall at some point in a shift: dirty plates stack up, servers m …Oct 23, 2026