How to Choose RV Trailer Replacement Parts
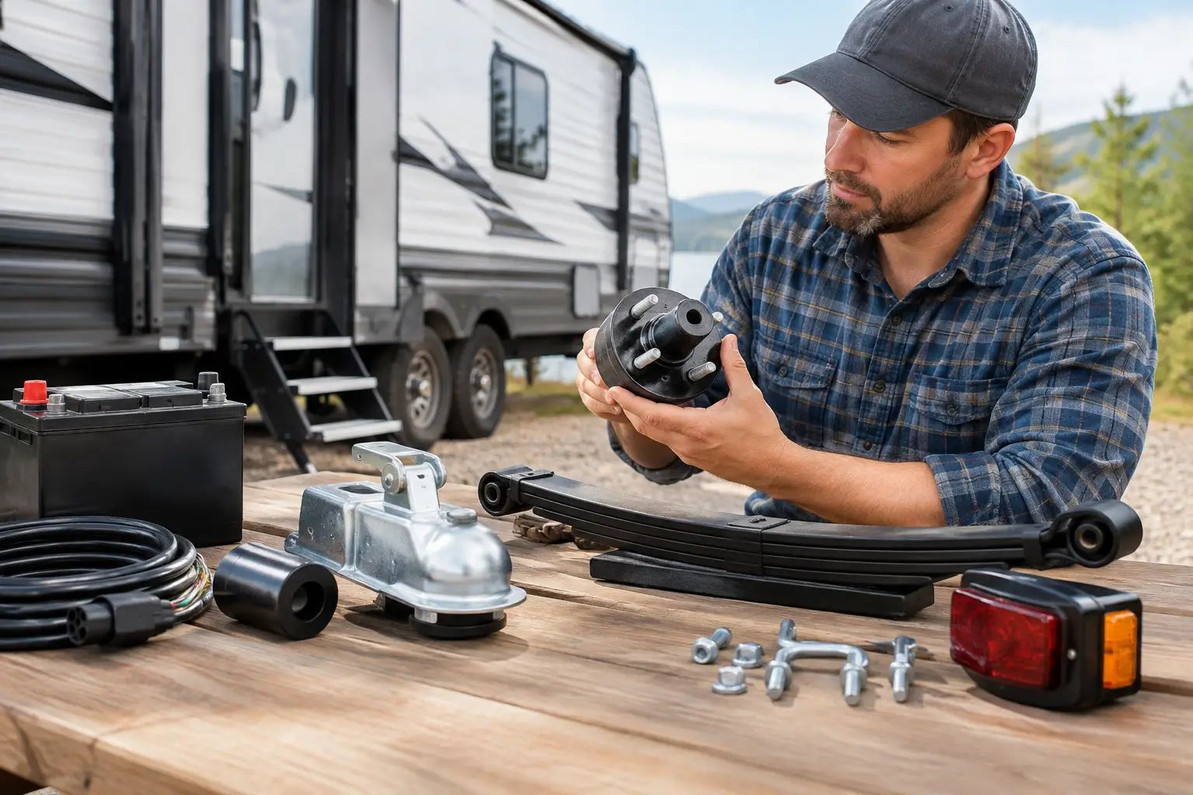
A broken latch, cracked vent cover, or worn appliance knob can turn a simple repair into a frustrating search if the new part does not fit. Buying RV trailer replacement parts is less about finding something that looks similar and more about confirming the details that determine compatibility. A few minutes spent checking labels, measurements, mounting points, and package contents can prevent return shipping, repeat repairs, and downtime.
For most RV owners, the best replacement is not automatically the most expensive option. It is the part that matches the original function, fits correctly, and holds up under regular use. Start with accurate information, then compare the features that matter for the specific repair.
Start With the Part, Not the RV Year
An RV's model year is useful, but it rarely identifies every replacement component. Trailer manufacturers often install appliances, hardware, vents, electrical accessories, and interior fixtures from several outside manufacturers. Two trailers built in the same year may have different parts because of production changes or optional equipment.
Look directly at the failed item before searching. Many parts have a sticker, stamped number, molded marking, or manufacturer name on the back, underside, mounting plate, or inside edge. Photograph that information along with the part in place. A clear photo of the connection, screw holes, and surrounding area is often more useful than a photo of the damaged surface alone.
If the original number is no longer available, identify the part by its job and its physical specifications. For example, a replacement door latch needs the correct cutout size, door thickness range, and latch orientation. A refrigerator shelf needs the right width, depth, support shape, and retaining tabs. A vent lid needs a matching hinge style and opening dimensions.
Record These Details Before You Shop
Use a tape measure and write down the measurements rather than relying on memory. For many RV trailer replacement parts, small differences matter. A one-quarter-inch change in a mounting pattern or a reversed left-hand and right-hand configuration can make an otherwise similar item unusable.
A practical compatibility check should include:
- The original part number, manufacturer, and any model number visible on the item
- Overall dimensions, opening or cutout dimensions, and mounting-hole spacing
- The connection type, including plug style, thread size, hinge design, or terminal layout
- Whether the part is left-hand, right-hand, front-facing, rear-facing, or universal
- What comes in the package, such as screws, brackets, seals, clips, or hardware
Keep the notes with your photos. This is especially useful when comparing listings that use different descriptions for the same style of part.
Match RV Trailer Replacement Parts by Function and Fit
A part can be physically close to the original and still perform poorly. Focus first on what the component must do. A cabinet catch needs to stay closed while the trailer moves. A step component must align correctly and operate without binding. An appliance replacement part must match the appliance model, not just the RV brand.
Material is the next consideration. Exterior components face sunlight, rain, dust, and temperature changes, so choose materials intended for exposed use. Interior parts may prioritize easy cleaning, appearance, or low weight. Metal hardware can offer strength, but check for corrosion resistance when it will be used around moisture. Plastic parts can be practical and lightweight, but the material should be thick enough for the load and location.
Fit also includes clearance. Before ordering a replacement handle, hinge, shelf, or latch, consider what moves around it. Will a cabinet door clear the new handle? Does a replacement vent component open fully beneath an awning or roof accessory? Can a drawer still slide without catching a new mounting screw? These questions are simple, but they prevent a repair from creating a second problem.
Universal parts can be a good value when measurements and mounting details match. They are useful for common hardware such as catches, pulls, bumpers, and certain covers. However, a universal claim does not eliminate the need to compare dimensions. For appliance controls, specialty hinges, molded trim, and components with specific electrical connections, an exact model match is usually the safer choice.
Know When to Replace the Full Assembly
Sometimes replacing one small piece is the most economical repair. A missing screw, worn bumper, broken clip, or damaged knob may be resolved with a simple component replacement. This approach makes sense when the surrounding assembly is in good condition and the new part can be installed securely.
Other times, a full assembly is the better purchase. Replace the complete item when multiple pieces are brittle, corroded, bent, or loose; when the required sub-part is unavailable; or when repeated repairs have not solved the issue. A latch with a broken spring may also have a worn housing. Replacing only the spring could leave you with a latch that still does not close reliably.
Consider the labor involved, not only the item price. If accessing a part requires removing trim, an appliance panel, or a large section of hardware, installing a more complete assembly may save time later. On the other hand, do not replace an entire system just because one inexpensive service item is worn. The right choice depends on condition, installation time, and the availability of a compatible repair part.
Check Installation Requirements Before Ordering
A replacement part is only a good deal if you can install it with the tools and access available. Read the product description for mounting method, required fasteners, orientation, and whether additional hardware is needed. Compare the listed package contents with what was removed from your trailer.
For basic mechanical parts, keep the old hardware until the new item is installed. Existing screws or brackets can help confirm size and spacing, even if you plan to use new hardware. If a listing does not include fasteners, check the condition and length of the ones already in place before ordering separately.
For appliance, electrical, or water-related components, verify the exact appliance or component model before purchase. Do not force connectors, alter mounting tabs, or substitute a part with a different connection simply because it appears close. If the repair involves a system you are not comfortable servicing, use a qualified RV repair professional rather than risking damage to the equipment.
After installation, test the part several times while the trailer is parked. Open and close a latch, extend and retract a step, or operate the appliance control as appropriate. Check that fasteners are secure without overtightening, and look for rubbing, binding, or loose movement. A short test now is easier than discovering an issue after the trailer is loaded.
Buy With Returns, Spares, and Future Repairs in Mind
Online shopping makes it easier to compare RV trailer replacement parts, but clear product details matter more than a broad product name. Look for usable dimensions, compatibility references, part numbers, photos from more than one angle, and package contents. This information helps you order confidently and makes it easier to compare value between similar options.
Before placing an order, confirm the seller's return terms and keep the packaging until fit is verified. Avoid installing or modifying a part until you have confirmed it is the correct match. When a repair involves a low-cost item that commonly wears or gets lost, ordering a spare can be practical. Cabinet catches, shelf supports, bumpers, small clips, and basic hardware are easier to store than to search for during a future repair.
Organize leftover hardware and spare parts in labeled bags or small storage bins. Write the part number, trailer location, and purchase date on the label. This small habit helps homeowners, landlords, and maintenance teams avoid buying the same item twice, and it makes future troubleshooting faster.
The right replacement part should make your trailer easier to use, not create another project. Measure carefully, verify the original component, and choose the option that fits the repair as well as the trailer. That practical approach turns a parts search into a repair you can finish with confidence.
Recent Posts
-
Air Pillow Film Rolls: How to Choose the Right Refill
An air cushion machine is only as good as the film you feed it. Buy the wrong air pillow film rolls …Oct 25, 2026 -
How to Remove Pet Hair From Furniture and Clothes
If you share your home with a dog or cat, you already know the routine: you clean the couch, sit dow …Oct 25, 2026 -
Jigsaw Puzzle Table Setup With a Folding Table
Once a big jigsaw puzzle comes out of the box, it tends to take over the kitchen table for a week. E …Oct 25, 2026