8 Packing Station Examples for Faster Fulfillment
A packing station does not need to be a large warehouse installation to make a real difference. The best packing station examples solve a specific problem: wasted steps, missing supplies, mixed-up orders, cramped work surfaces, or packages waiting too long to ship. For a home-based seller, that may mean a folding table with labeled bins. For a busy stockroom, it may mean several dedicated stations supported by utility carts and organized packaging supplies.
The right setup depends on what you ship, how many orders leave each day, and how much room you have. Start with the work itself, then choose the furniture, storage, and supplies that remove friction from each step.
What Every Packing Station Needs
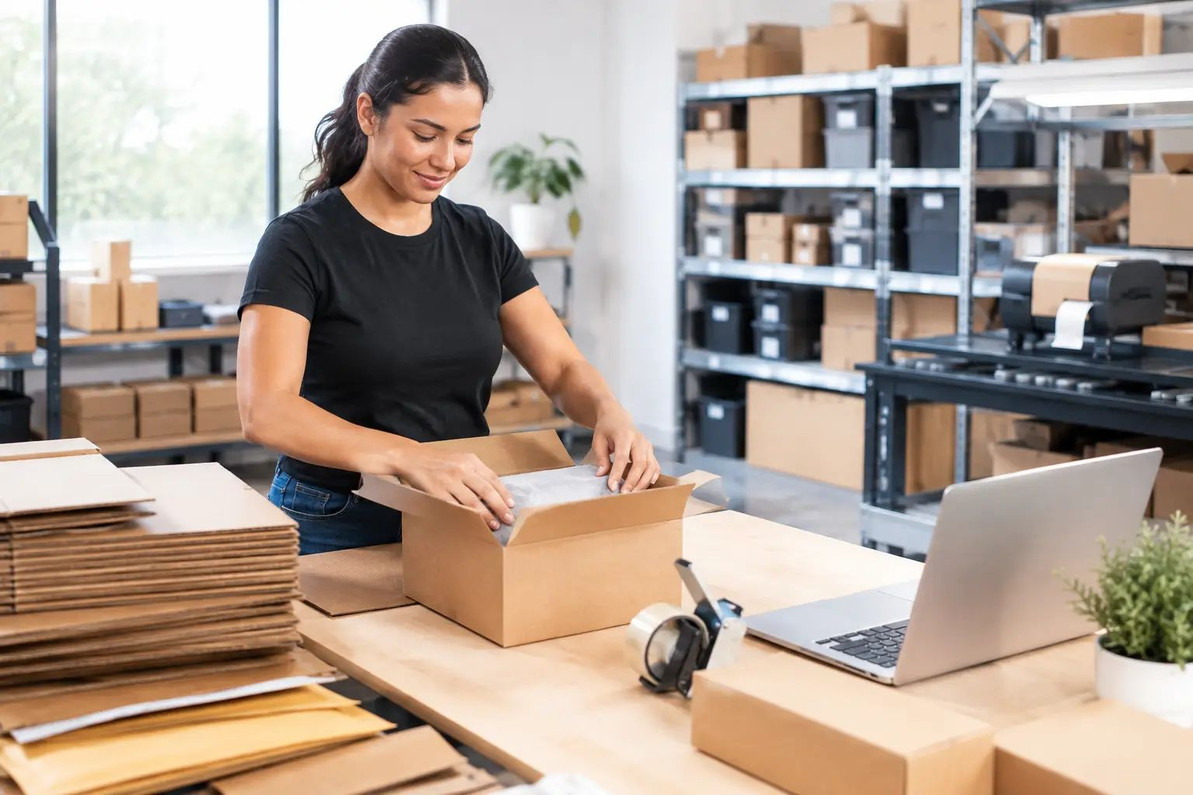
Most effective stations follow the same basic order: receive the picked item, verify it, protect it, seal the box or mailer, apply the label, and place the finished parcel in an outgoing area. When those steps happen in a logical sequence, workers spend less time looking for tape, boxes, labels, or the next order.
A practical starting point is a stable work surface, packaging materials within arm’s reach, a clear place for a shipping label printer or labels, and a separate area for completed packages. The details change with order volume. A seller shipping 10 small parcels a day does not need the same equipment as a warehouse processing several hundred orders.
Keep frequently used materials between waist and shoulder height whenever possible. Heavy cartons, packing paper, and bulk supplies can stay lower. This simple arrangement helps keep the tabletop open and reduces unnecessary bending or reaching.
8 Packing Station Examples for Different Workflows
1. The Small Home Seller Station
A folding table can be a smart foundation for a small seller working from a spare room, garage, or basement. Use the tabletop for one open order at a time, with a small supply of mailers, tape, and labels close by. Store extra boxes and refill supplies on shelving or in stackable bins nearby rather than crowding the table.
This setup works best for lightweight items and lower order volume. Choose a table size that leaves enough room to open a box, add cushioning, and apply a label without balancing materials on the floor. At the end of the day, a folding table can be moved or stored, which is useful in a shared space.
2. The Marketplace Seller Shipping Bench
A seller shipping varied products needs more organization than a basic tabletop provides. Set up a long table or workbench with supplies arranged by use: boxes and mailers on one side, protective material in the middle, tape and labels on the other. Put a small bin or tray at the front of the station for invoices, packing slips, or order notes.
This arrangement is especially useful when product sizes vary. Keep the most common box sizes close to the station and move less-used sizes to nearby storage. If several people work in the same area, label bins clearly so each person can refill supplies quickly.
3. The Packing Table With a Utility Cart
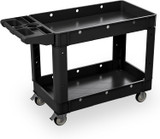
A utility cart is one of the easiest upgrades for a station that runs out of room. Instead of using valuable tabletop space for every roll of tape, bundle of mailers, and stack of labels, load the cart with refill materials. It can sit beside the station during busy periods and roll away when the area needs to be cleared.
A two- or three-shelf cart works well for separating materials. Keep lightweight, frequently used items on the top shelf; reserve lower shelves for extra boxes, tape refills, and packing paper. The main benefit is flexibility. One cart can serve a single station, or it can move between several stations when demand changes.
4. The Multi-Order Batch Packing Station
Batch packing is useful when a business ships many similar items. Rather than completing one order from start to finish before beginning the next, workers may pick a group of orders and pack them in sequence. The risk is confusion, so separation matters.
Use clearly marked bins, trays, or zones to keep each order apart. One area holds unboxed products waiting to be packed, the center is the active packing space, and another area is reserved for sealed parcels awaiting labels or carrier pickup. Avoid piling multiple orders together on a table. A little extra space between orders can prevent an expensive mix-up.
This model works best when the same box sizes and protective materials are used repeatedly. Keep a small replenishment cart nearby so the packer does not leave the station during a batch.
5. The Fragile-Item Packing Station
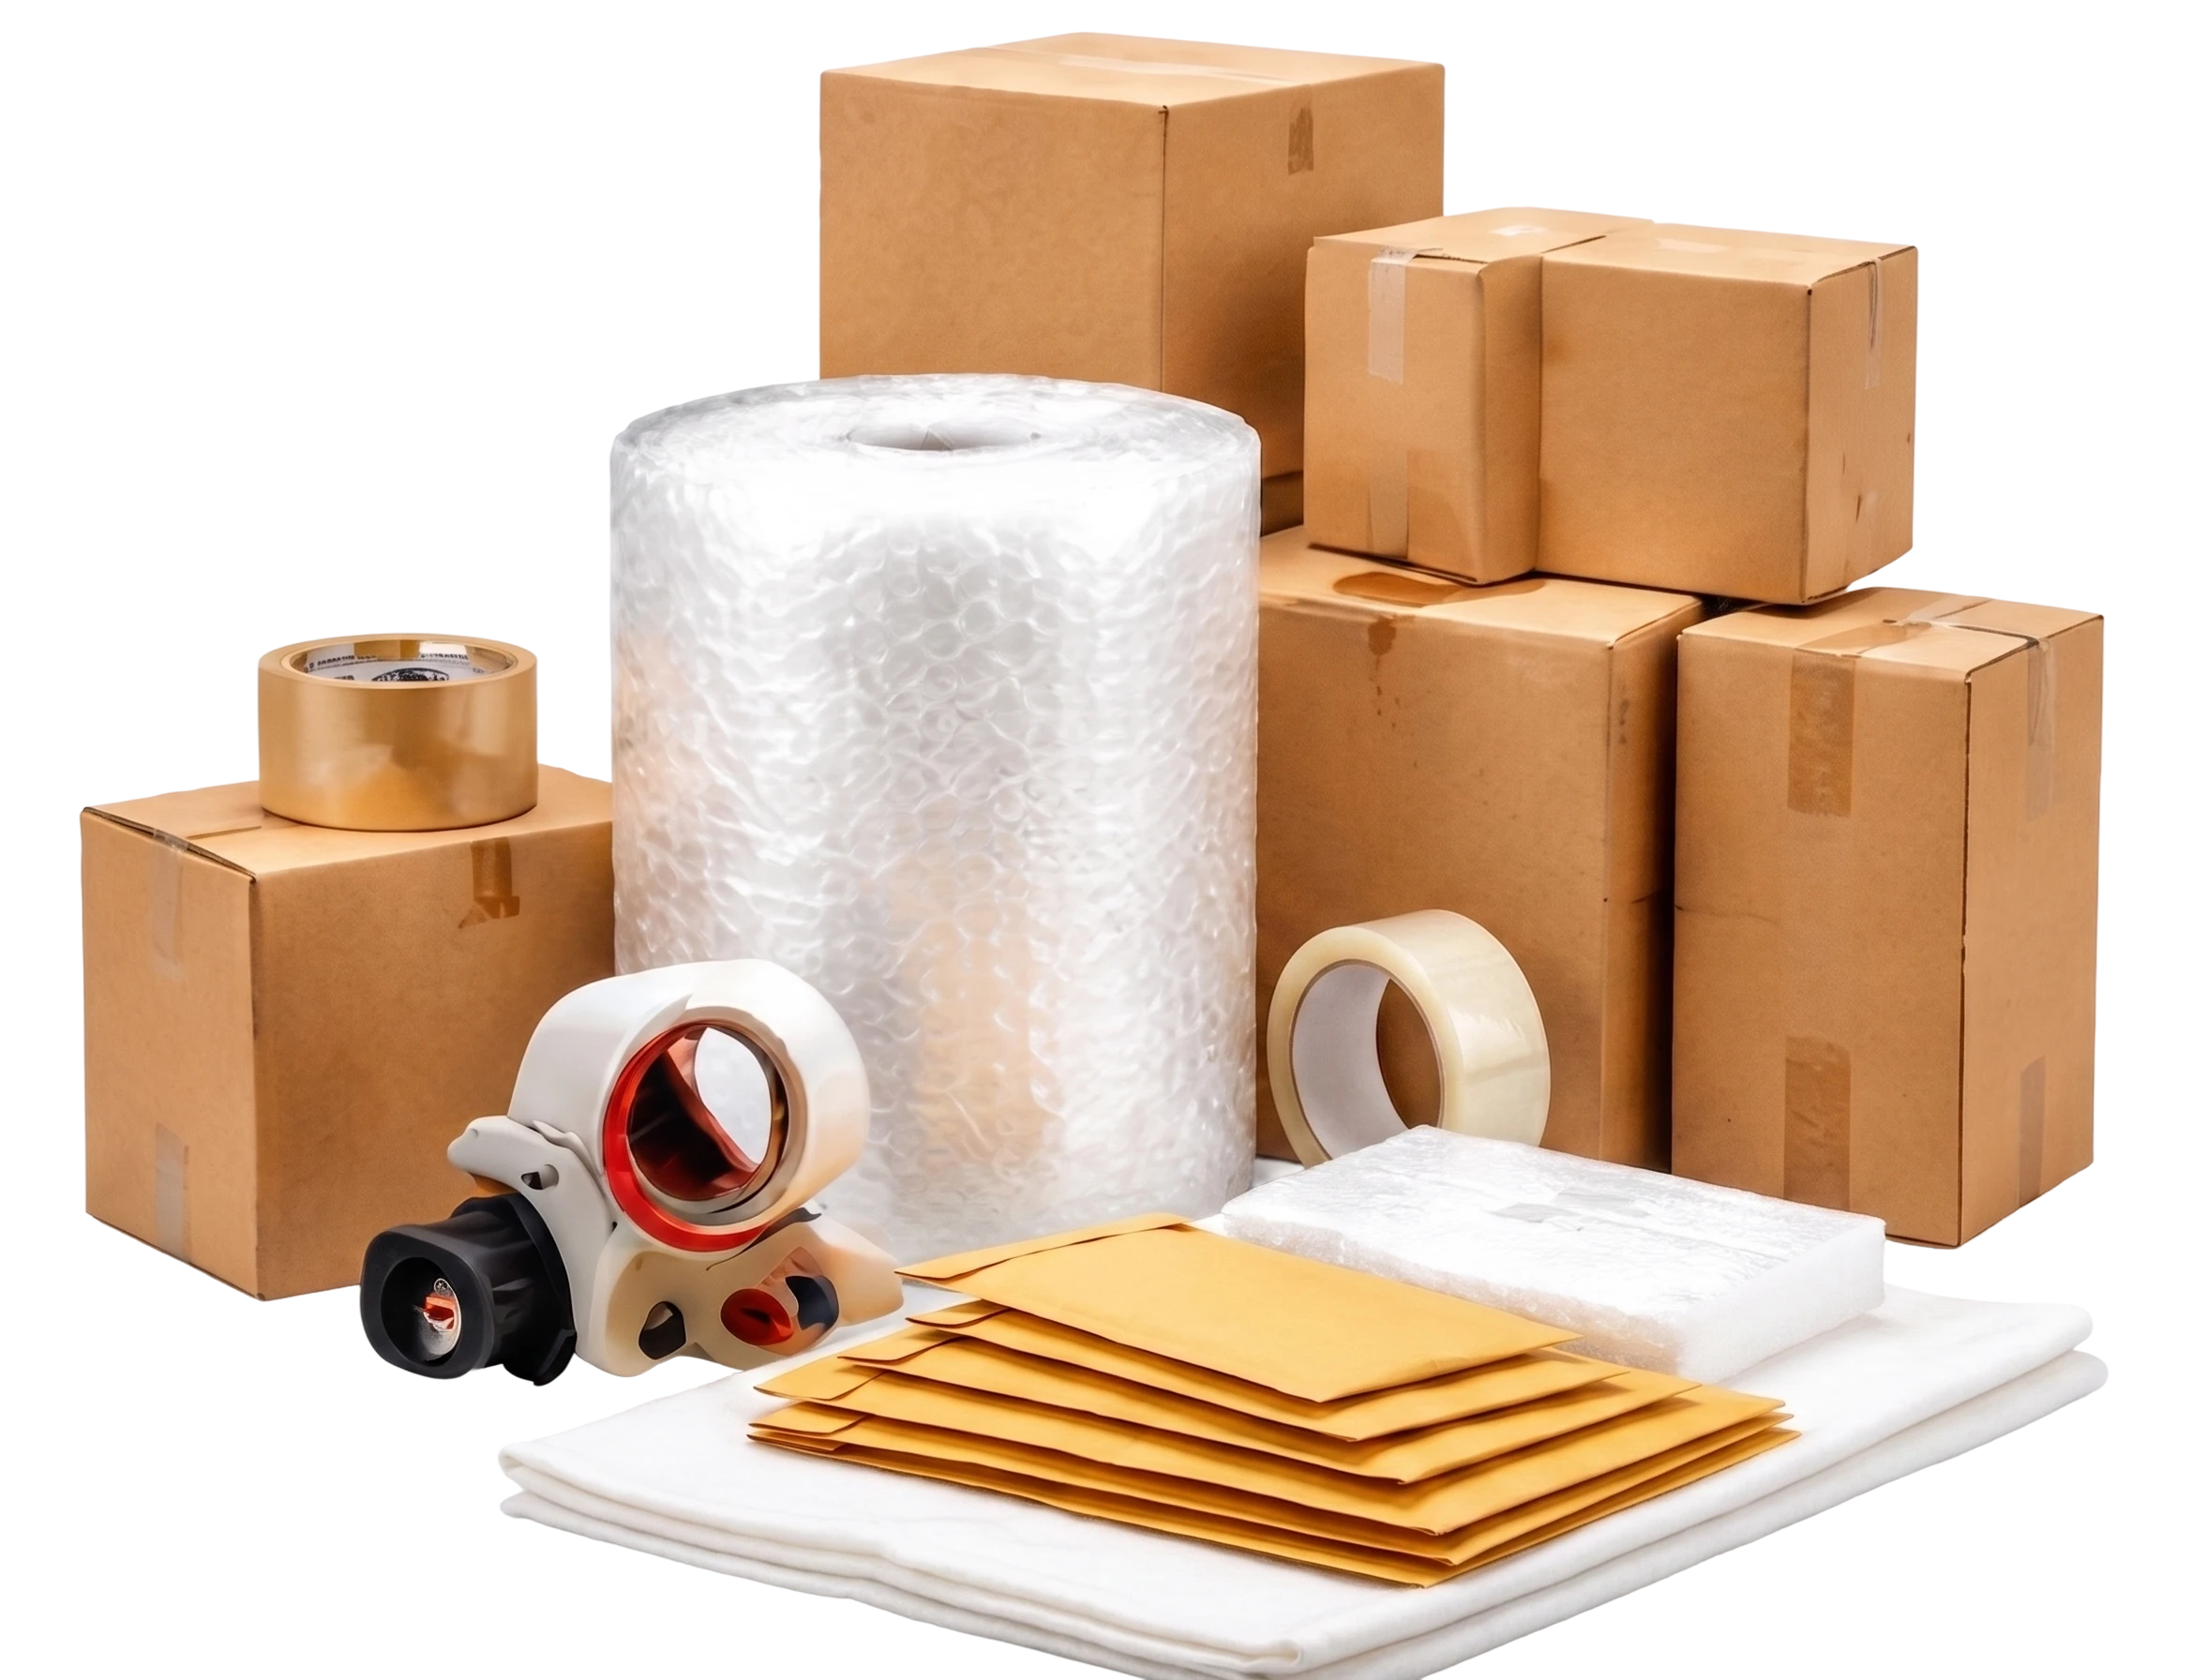
Products such as glassware, small appliances, replacement parts, and decorative household items require a station built around protection. The work surface should be large enough to wrap items properly and test-fit cushioning before sealing the carton. Packing paper, bubble cushioning, foam, and void fill should be easy to reach without being scattered across the floor.
A useful method is to keep a dedicated area for pre-wrapping fragile items before they reach the box. This keeps the main table from becoming cluttered and helps maintain a consistent packing process. Store different carton sizes nearby, but do not assume the largest box is safest. An oversized carton can allow the item to shift unless it is filled correctly.
6. The Heavy-Parcel Station
For larger cartons, the key issue is movement. A low, unstable table is frustrating when packing heavy items, while lifting finished packages repeatedly can slow the process. Use a sturdy work surface with enough capacity for the products being packed, and keep a platform cart or dolly close to move outgoing cartons.
Place the outgoing staging area as close as possible to the packing location. A platform cart can collect completed packages and reduce trips across the building. If cartons are bulky, leave clear walking paths around the station. A crowded aisle is not efficient, even if it technically creates more storage space.
7. The Returns Processing Station
Returns often create clutter because they combine inspection, repacking, disposal, and restocking in one place. A dedicated returns station keeps those tasks from disrupting new outbound orders. Set up separate containers or shelves for items that can be restocked, items that need new packaging, and materials that should be discarded.
Keep replacement boxes, tape, labels, and basic cleaning supplies available if your process calls for them. The important point is to give returned items a clear next destination. A station that becomes a permanent pile of unidentified returns creates inventory problems and takes up needed packing space.
8. The Compact Warehouse Lane
A growing operation may need several packing stations but have limited square footage. In that case, arrange stations along one wall or in a straight lane, with shared supplies stored between work areas. Each worker gets a defined work surface, while bulk cartons and refills stay in a central location.
This layout can be more efficient than giving every station a full duplicate supply of every material. However, shared supplies need to be replenished consistently. If two packers both need the same box size or label rolls, shortages can stop work quickly. Use labeled storage locations and set a simple restocking routine before the busiest shipping period begins.
Choosing the Right Work Surface
The packing table is the center of the station, but bigger is not always better. A very large table may encourage clutter, while a surface that is too small forces workers to stack materials or pack on the floor. Measure the largest typical item, the carton it ships in, and the space needed for protective material before selecting a table.
Folding tables are practical for temporary, seasonal, or flexible work areas. A dedicated workbench may make more sense for a permanent shipping room. For mobile workflows, a utility cart can provide an extra surface for supplies, but it should not replace a stable primary table when handling heavier cartons.
Also consider what happens after the package is sealed. A finished-parcel shelf, cart, or clearly marked floor zone prevents outgoing orders from getting mixed with items that still need attention.
Small Details That Improve Packing Speed
Consistent placement matters more than elaborate equipment. Put tape in the same location at every station. Keep labels protected from dust and moisture. Use bins or dividers for small parts, and mark refill locations so workers know what belongs there.
It also helps to match supplies to actual order patterns. If most shipments use poly mailers, keep them at the front of the station and move rarely used cartons farther away. If orders often include multiple items, leave enough table space to check the order before sealing the package.
Review the station after a busy shipping day. If workers repeatedly walk away to find a box, move finished parcels twice, or clear clutter before starting each order, the layout needs adjustment. Usually, a utility cart, better-labeled storage, or a clearer outgoing area solves the problem without requiring a full redesign.
A packing station should make the next order easier than the last one. Start with a clean work surface, organize supplies around the actual packing sequence, and add storage or material-handling equipment where it saves steps. A few practical changes can turn a crowded shipping corner into a dependable part of your daily operation.
Recent Posts
-
How to Organize Toys With Clear Storage Bins
Toy clutter tends to peak right before the holidays, when birthday gifts from the year are still sca …Oct 23, 2026 -
Folding Chairs for Church Halls and Community Centers
Church halls, fellowship rooms and community centers ask more of their seating than almost any home. …Oct 23, 2026 -
Restaurant Bus Cart Guide: Using a Utility Cart for Bussing
Every busy dining room hits the same wall at some point in a shift: dirty plates stack up, servers m …Oct 23, 2026